I HAVE BEEN DYING TO PAINT MY KITCHEN CABINETS SINCE I MOVED INTO MY NEW HOUSE!
I've finally gotten up the nerve to DO IT! Quit talking about it and start already, is what I told myself! So I did. The cabinets are a light maple and would otherwise be ok. They were just plain, though. I wanted some character on them! My kitchen doesn't get much natural light so I wanted to lighten them up! My hardwood floors are more of a honey gold, the maple cabinets were yellowy (is that a word, I don't care, you get the point!) and the walls are yellow. WAY TOO MUCH YELLOW!
I have always liked the off white with brown glaze in the all the corners look. I went to Sherwin Williams and talked with the guy there about my project. He suggested using SW Proclassic Acrylic/Alkyd semi-gloss paint. I had originally thought I would use the Benjamin Moore Advance paint, which is very similiar, but the customer service at SW was great so I decided to use them!! I decided on Dover White. I already had some glaze that I've use on EVERY project, which is Valpar's tintable glaze in Mudslide!
Here are some before pics...


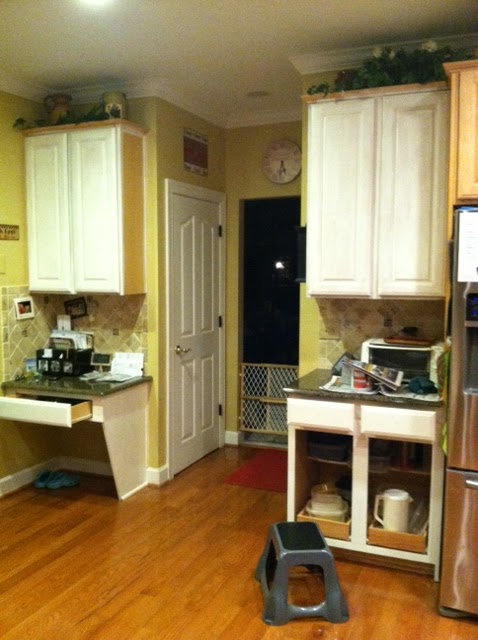
See what I mean... YELLOW everywhere. I am gonna paint the walls too so that will help too!
I started this BIG project by doing it stages. I tackled the bottom cabinets first. I decided to prime with the cabinet doors still attached, using my trusted B-I-N Zinnser Shellac based Primer. It's odor blocker, stain blocker, and provides great coverage. And it sands beautifully! Always sand after you prime to smooth everything out! This primer takes a little getting used it. It is really thin when you start but thickens up really fast. It is NOT very workable so once you paint in on you can only spread it out with a few strokes then move on to the next section. It dries VERY quickly so don't go over it too many times.

I let the primer sit over night then started first thing the next morning with the sanding. I took off all the doors and brought them to the garage. I sanded everything with a fine grit sandpaper- 320 grit. 220 grit works well if you have a lot of thick areas or drip marks.
I kept the drawers in because honestly, I was being a little lazy and didn't want to empty everything out of them!
I didn't tape off anything, I just went slow and steady around the edges! I used a big canvas to cover the floor. The kitchen was A MESS for the weekend but it was well worth it! And I didn't take any pics of the mess but I should have. It probably took me ALL day Saturday and Sunday with some breaks throughout the day when I was waiting for things to dry.
I set up shop in the garage. 2 folding table were used along with some pieces of wood going horizontal to place the doors on. After sanding, I used a shop vac to suck up all the dust, then used a damp cloth to really get them good and clean. Paint will not stick to DUST!
I used my handy-dandy paint sprayer and went to town! I did go over them twice to make sure I had good coverage! The paint dries really fast too so I applied the 2nd coat later in the day. I sanded in between each coat too. There is a LOT of sanding involved but if you want that nice smooth finish, it is neccessary!

I painted the base of the cabinets and drawers with a paint brush. A good quality paint brush is a must... I use Purdy brushes. They are not too stiff and not too soft!

I left the drawers open for a couple days to prevent them from sticking.
I started priming the upper doors while I was waiting for the lowers to dry. I only did a few then took a much needed break.
Did I mention that this was a HUGE, TIME CONSUMING project?!
So to recap so far... 1 day to clean, prime, and sand.
1 day to apply 2 coats ( with a sprayer) and drying time
1 day to glaze and dry time, cabinet doors put back on late on the 3rd day after dry
The glazing is VERY tedious and has taken me A LOT of practice at getting this right. There are several different ways to apply the glaze depending on the look you want. I didn't want the glaze over the whole thing just in the crevices. I used a small brush and went very slowly! This takes PRACTICE!!!


Doesn't this look FABULOUS??!! I'm thrilled on how this turned out! It totally changes the look of the cabinets, since I was thinking that the cabinets looked a little too white. Once I applied the glaze, it was perfect!

I didn't do the drawers yet but they will be done when the kids are in school! And the little pieces of trim underneath will be done last!
Stay tuned for the rest of the reveal...
AHHH.... no more YELLOW!


This project came out absolutely beautiful! What a HUGE difference some paint makes!
Painting the walls is next!